One of the most frequently asked question by divers starting out in underwater photography is what causes distorted and blurry pictures underwater? Most divers will end up taking hundreds of photographs on a dive trip only to find a handful of usable, clear, sharp photographs, with the rest being inexplicably fuzzy and blurry. Here are some useful tips on the causes of out-of-focus pictures underwater PART 2 which may help point & shoot camera users to get their photographs in sharper focus.
Camera Zoom
When taking pictures underwater with a point and shoot, avoid using your cameras zoom as much as possible, and try getting closer to your subject instead at a wide angle (zoom fully retracted). The more you zoom, the more sensitive your camera is to movement, causing even the minutest of motions to result in blurry images. Imagine your zoom lens as looking through a telescope at a star, even a slight movement translates into a large shift, or shake.
Shutter speed is too slow
To get a correct exposure your camera could be selecting a shutter speed that is too slow to freeze the action or allow for a little camera movement resulting in blurry pictures. If you cannot manually select shutter speed, try shooting in shallower water where there is more light, or use a strobe to allow your camera to capture motion at a higher shutter speed. Bump up your ISO settings to compensate for the loss of light allowing you to take higher shutter speed snaps.
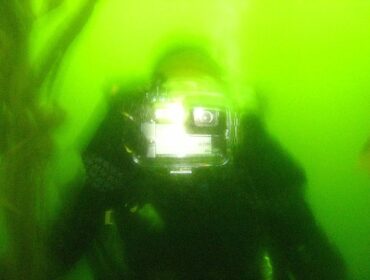
Lens fogged up.
Sometimes the reason you get blurry pictures is simply due to the lens getting fogged by the condensation inside the camera housing. If moisture is trapped inside the housing and you leave your camera in the hot sun on the dive boat, you are likely to have condensation build-up inside your housing. A silica desiccant packet should help to keep the moisture at bay. Also closing the camera in a dry, low humidity environment and keeping your camera out of direct sunlight may help prevent this. Often while underwater the heat from your flash, or strobes, causes some build-up of condensation; a silica gel packet may help reduce this effect.
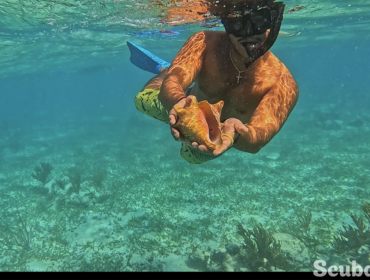
Your Buoyancy
Often the simplest cause for blurry photographs is the diver not being able to remain still enough to take the shot. As funny as this may seem, so many divers take up underwater photography with lousy buoyancy control and complain that their camera equipment is no good. Good buoyancy control is key to underwater photography, and anyone taking pictures should have done enough dives to be very comfortable with controlling his/her buoyancy underwater.
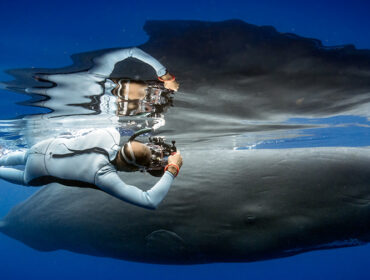
Brace the camera correctly
To get steady shots underwater try holding the camera with your elbows pressed up against your chest and not at arm’s length. This gives the camera greater stability, as your body absorbs the shock and vibrations.
Gently depress the shutter release button
While pressing the shutter release button, do so smoothly in one swift motion so as to not cause the shifting of the camera. This takes practice. We suggest plenty of surface photography first to get familiar with the camera and depressing the shutter smoothly in a fluid motion without jarring the housing before taking it underwater.
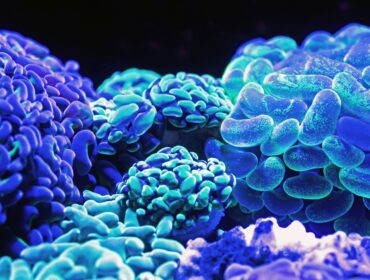
Motion Blur
Sometime you get blurry shots simply because your subjects, namely fish, and yourself, the photographer, are constantly in motion causing motion blur. If you get your photographs with the subject blur but the background clear, then it’s usually caused by the movement of your subject , or a shutter speed not fast enough to freeze the action of the movement. Shoot with high shutter speeds and practice on stationery subjects like coral first, then slow moving fish, or turtles, until you get the hang of it. A technique used to capture moving subjects known as ‘panning’ involves moving the camera with the movement of your subject as you depress the shutter and follow through once you are done. This technique is supposed to get you a clear subject but motion blur on the background.