Underwater photography is a fascinating hobby that seems like an easy switch for any experienced photographer. However, underwater photography has a few challenges unique to the environment and requires a slight adjustment to get the same quality of photos you may be used to. Just as with photography on land, it is essential to understand the role of light in underwater photography to compose your images correctly. Let’s take a look at three common light challenges in underwater photography.
Refraction
Light bends as it passes from one medium to another in a phenomenon known as refraction. Refraction occurs when light traveling through water passes through the glass and air of your underwater camera, causing objects to appear approximately 25 percent larger and closer than they are. Understanding this effect is essential, especially for cameras with autofocus features, as refraction can make it difficult to focus correctly on the subject, leaving you with blurry images.
Underwater cameras with an infrared autofocus assist will work underwater, but those with laser rangefinders will have trouble focusing and produce blurry pictures. Ensure your camera’s lens always focuses at infinity, or use a camera with a manual focus setting. Remember this 25 percent magnification when composing your shots to avoid distortion and blur.
Light Absorption
Water is a great natural light filter, absorbing a substantial amount of light traveling through it the deeper it gets. A general formula for light loss underwater is for every 10 meters of depth. Half the light is lost. So, at a depth of 10 meters, you have 50 percent of the light you had at the surface and just 25 percent at a depth of 20 meters, etc.
Your available light will not always be the same. However, it will change depending on the time of day. It is generally accepted that the best hours for shooting underwater are between 10 AM and 2 PM. This is when the sun is directly overhead, and the water’s surface reflects the least amount of its light.
Weather also plays a role in your available light. If the conditions are stormy, choppy water will significantly impact the light conditions underwater. Water clarity also has a lot to do with how much light you’re getting on your subjects. It’s ultimately best to stay within 0-10 meters if you plan on shooting with natural light. You’ll need a strobe to illuminate your subjects if you’re any deeper.
Color Absorption
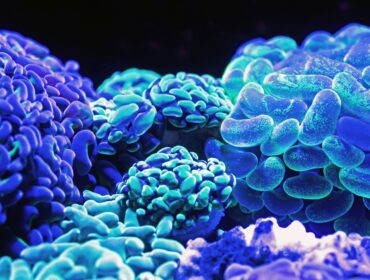
Perhaps the most frustrating light challenge is color absorption. Photos displaying no hues but blue or green. This is because the hues of yellow, orange, and red are emitted by short wavelengths of light that are quickly absorbed in water and absent at depths below 10 feet. Blue and green come from significantly longer wavelengths, reaching much further into the deep. At 80 feet, blue is the only color left before everything turns black.
Using color-correcting filters is the most common and inexpensive way to address dull colors in your images. It is important to remember that filters can only enhance the colors in the available light; they cannot add colors where there is not enough light to illuminate them. The filter reduces the available light, so they’re best suited for very shallow waters.
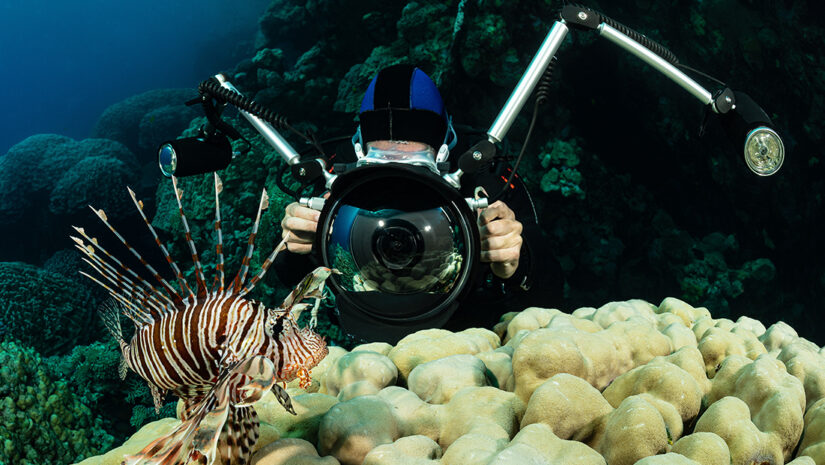
In underwater photography, a strobe is the second most common way to address color absorption. Most strobes have adjustable settings that allow you to control the light output for each image and create the perfect light every time. Getting close to your subjects will reduce the distance the light travels underwater, increasing your strobe unit’s efficacy.