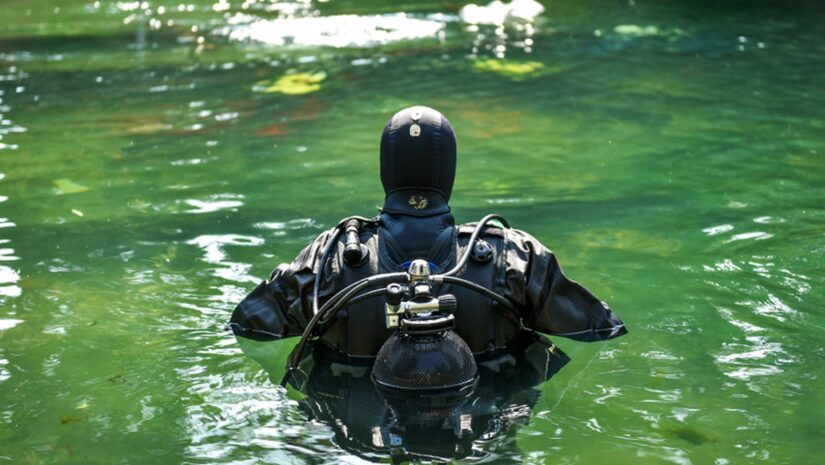
Whether you’re a diver, kayaker, paddleboarder, or any other type of water sports enthusiast, a drysuit can be a very useful investment—it’s an essential piece of outdoor gear for those who enjoy going out on the water in cold climate areas. Drysuits, unlike wetsuits, are designed to give you complete and reliable protection in unforgiving environments both underwater and above it. But as with any other protective suit, these items need special care and maintenance to ensure that they can effectively carry out this purpose.
If you want to keep your suit in good working condition for as long as possible, consider these important drysuit repair and care tips from diving experts.
Tips for Drysuit Repair

Even if you aren’t a drysuit repair specialist, you can easily repair tears, holes, and other minor issues that you may find in your suit—as long as you have the right tools. Should you notice any damage, particularly on the gaskets, the suit material itself, or the zippers, these drysuit repair guides can help you make the necessary fixes without the need for professional help.
Gasket Replacement
Your suit’s gaskets or seals are responsible for preventing water from entering from your neck, wrists, and ankles/socks. These are normally made of latex rubber and will show signs of wear over time as the material dries out. Make sure to replace or repair your gaskets as soon as you see any signs of tearing, which is going to happen more often than you’d hope, as they have a pretty short lifespan.
You can send your suit to a dive shop or you can DIY it in just 30 minutes. Most dive suits have modernized seal systems that allow the quick replacement of damaged seals, so if yours has this feature, then you should be able to repair the drysuit on your own.
To do it yourself, you’ll simply need a repair adhesive—like the Aquaseal FD Repair Adhesive and Cure Accelerator, which is the industry standard for maximum strength repairs— and your new gasket/s, as well as several other items.
To get an idea of how easily you can repair your torn or damaged gaskets, check out this instructional video:
Material Repair
Drysuits are constructed with very flexible and durable material—it can be made out of foam neoprene, crushed neoprene, vulcanized rubber, or heavy-duty nylon. While a typical drysuit is designed to be extremely abrasion-resistant, it can still rip or tear with constant use. As with every other piece of clothing, it can get damaged from regular wear and can accumulate small holes, scratches, abrasions, or accidental tears.
It’s not likely for a recreational diver to find holes in their drysuit, but if you do, it’s fairly easy to repair. Experts recommend Seam Grip for its thick consistency, although this can be substituted with good ol’ Aquaseal—like the McNett Aquaseal Drysuit Repair Adhesive and Sealant.
If there are larger holes, you can create a backing with removable tape, fill the hole with your sealant and go past 1/4″ for good measure, and remove the backing tape once the sealant has dried (typical cure time is around 12 to 24 hours).
For more detailed instructions, check out this instructional video on repairing holes and tears in your drysuit, drytop, and other waterproof fabric:
Field Emergency Repairs
When you’re in the field, you won’t have time to do a complete repair job on your drysuit—it’ll have to be a quick repair (using whatever you have on hand) that will allow you to carry on with your assignment. In such cases, make sure to pack a neoprene-based contact cement (that dries up in just minutes) in your drysuit repair kit. This will at least keep your suit intact until the soonest possible time that you can replace your gasket or properly repair tears and rips.
Using the Aquaseal Neo, apply cement on the edges of the repair area and wait five minutes for it to dry. Apply a second coat and wait 10 minutes more. Finally, press and hold the glued edges together for about five minutes until it dries.
If your suit is made of neoprene, you can use Iron-Mend to reinforce or provide a strong, flexible, and long-lasting repair on high-wear areas like the knees, elbows, underarms, and around the zipper.
Zipper Repair
High-quality drysuits have watertight metal or plastic zippers that don’t easily get damaged, although the latter is more prone to jamming. Nonetheless, both are tested to be specifically reliable for use in drysuits.
However, in case it breaks or gives you issues, you can use a Zipper Repair Kit. If it gets damaged beyond repair, you can go to your dive shop and check if they can replace it.
To avoid this completely, make sure to do everything you can to increase the life of your drysuit zippers (more on this under Drysuit Care below).
Drysuit Care
The best way to make sure that your drysuit stays in tip-top shape is to prevent it from getting damaged and take all the necessary measures to maintain its quality. Here are a couple more tips on how you can take care of your drysuit:
Cleaning
Every drysuit owner should understand how important it is to fully rinse and air dry their suits after each use. Simply cleaning your drysuit properly on a regular basis does wonders to remove any residue (especially skin oils, saltwater, and sunblock) that may degrade your suit over time.
When washing, skip the washing machine and dry cleaning to avoid unnecessary damage to your zippers and gaskets. Hand wash your suit with a dedicated cleaner, like the ReviveX Pro Cleaner, in warm water. Only use your hands, a sponge, or a brush with soft bristles to remove dirt.
Open the zippers and wash the insides and outsides of your suit in two separate steps.
Using a suit hanger, hang your drysuit inside out to dry indoors and keep it away from sunlight. Once the inside is dry, turn it right side out and wait for the outer layer to air dry. Finally, treat your latex gaskets with 303 Protectant or dust them with Aqua Dry Talcum Powder before storing your suit.
Storage
Make sure to hang and store your drysuit in a cool, dark place, like your closet. Any place will do as long as it is free from moisture, sunlight, artificial UV light, and ozone. Use another hanger or simply drape the legs over the shoulders to keep the suit off the floor.
If there’s no available closet space, fold the suit loosely to make sure that you don’t over-bend or twist the zippers, and store it in a dark plastic garbage bag. Seal the bag and place the packed suit inside a cardboard box.
For long-term storage, simply cover your hanging drysuit with a dark plastic trash bag and tie the ends of the bag’s opening around the hanger hook.
Gasket Maintenance
When you purchase a new drysuit or once you’ve repaired your gaskets, the following will help maintain its softness and protect it from anything that can degrade its quality:
- Keep it out of the sun as much as possible.
- Make sure it’s coated with 303 Protectant after each dive or every 4-6 weeks when not in use. It will also help protect your latex gasket from harmful UV rays.
- Protect it from prolonged exposure to sunlight or artificial light with high UV content.
- Keep it away from hot and moist storage environments.
- Wash and towel dry your gaskets after use in cold water (before applying the coating).
- Avoid contact with copper, including alloys.
- Avoid getting sunscreen on it as this can damage the latex.
Zipper Care
Obviously, you should make it a point to clean your zippers. Also, make sure to use a Zipper Lubricant Stick or a Natural Beeswax Zipper Lube to protect your zippers and to make opening and closing them super easy.
When you store your drysuit, keep the zippers open to prevent them from taking on a “compression set”—which can make them less effective.


