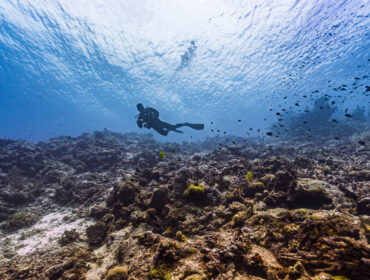
Freediving is perhaps the ultimate connection between man and water. No tanks and other complicated gear—it’s just you and the silence beneath the waves.
While freediving is commonly believed to be an extreme sport, for most divers, it’s actually the complete opposite. This sport is open to anyone who wants to get in the water as you don’t need to have any experience in snorkeling or scuba to get started. Freedivers simply have to hold their breath—some even enter a trance-like state of mind by relaxing the mind and focusing on their breathing—as they explore the underwater world.
If you want to learn more about this serene pursuit and prepare for your first freediving experience, read on.
What is Freediving?
Freediving or breath-hold diving is a method of underwater diving that does not require the help of a breathing apparatus. Instead of using an air tank, you simply hold your breath for as long can until you return to the surface.
With freediving, you can only travel as far as the air in your lungs will take you. The incredible feeling of pushing yourself to your limits helps explain the appeal of this sport. Therefore, the most important part of your training is learning how to breathe properly.
But before you head underwater, it’s important to be prepared for the excursion—both physically and mentally.
How to Freedive
Divers normally start their training by finding out how long they can hold their breath underwater and then using this figure as the base number to work on.
The key to advancing and lasting longer underwater is to get used to taking slow, deep breaths. Breathe in for five seconds, and then breathe out for 10-15 seconds. Make sure that you breathe out for much longer than you breathe in to avoid hyperventilating.
When you have this breathing pattern down, record your pulse. You will need to have a pulse of 80 beats per minute or less while you are deep breathing in order to be ready to start freediving. If you keep at it, you will find that your pulse starts to slow down with your deep breathing exercises over time. You will gradually be able to descend further as your pulse adapts. You may not be able to hold your breath for longer than 11 minutes and descend to more than 200 meters below the surface like veteran freedivers, but you can certainly attain and best your own goals as you progress in the sport.
Keep practicing your dives, working on descending further with each attempt.
(For female divers looking for pertinent information about freediving, check out this helpful guide from SLO active.)
Freediving Essentials

As with every other water sport, you’ll need to be equipped with a few basic pieces of underwater gear that will help you see, breathe, and move better in the water. But unlike in scuba diving, you won’t have to wear or lug around so many things, which will ultimately help you reach a near-zen experience while underwater.
Make sure you have the following before you actually go freediving.
Mask

There are really only a handful of things that you need to go freediving, and one of them is a good underwater mask. Aside from looking for a good fit, choose one with a low volume or low profile so it sits closer to your face, can be cleared of water more quickly, and reduces in-water drag.
Recommended Products:
- Seac One Freediving Low Volume Mask
- Cressi Big Eyes Evolution HD Mirrored Mask
- Tusa Ino Pro Mask Black
- Oceanic Predator Mask
Snorkel
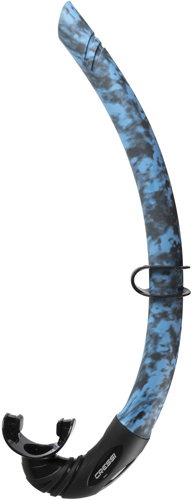
Another important piece of equipment is your snorkel, which should help you take a few breaths while submerged near the surface of the water. Of course, the use of the snorkel will require training (more on this below) as it involves fighting the urge to breathe before you are able to clear out your tube.
When choosing a snorkel, it’s best to find one that’s designed for freediving—preferably with a flexible, curved tube that stays in place so you don’t have to bite too hard and can focus on relaxing underwater.
Recommended Products:
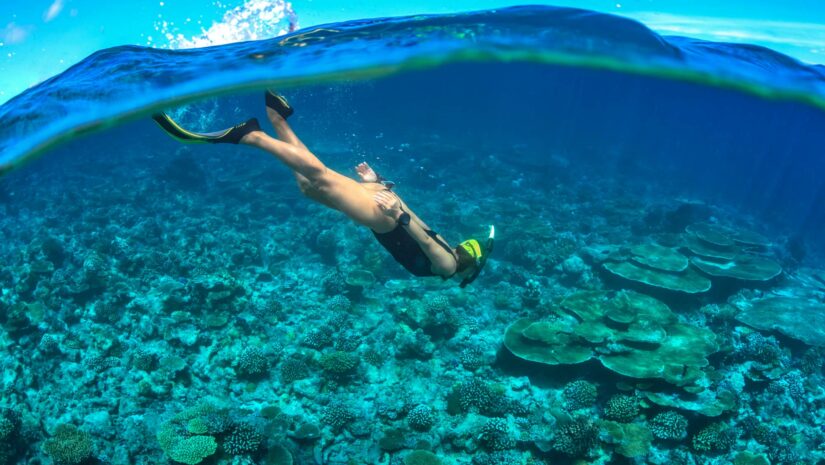
Fins

Aside from your mask and snorkel, you’ll need a good pair of fins to help you swim more efficiently with much less effort. With a quality pair of fins, you can save your energy, lower your respiratory and heart rate, and travel further underwater.
As you advance through your training, you will want to upgrade to fins designed for this activity. They are much longer than standard scuba or snorkel fins. The traditional closed heel is preferred so you won’t have to worry about wearing more footgear, like thick booties. As for the stiffness, it should be relative to the diver’s strength and musculature. Our choices below include fins with longer blades.
Recommended Products:
- Mares Avanti Quattro Power Full Foot Long Blade Fins
- Cressi Gara 3000 LD Fins
- Oceanic Predator Fins 7/7.5
Freediving Certification
Make sure you learn how to freedive and earn the certifications required before you bring your free diving gear to the nearest open ocean diving spot. Do your research and look for a local diving school that offers serious practical and physical training specifically for diving without the use of scuba gear.
A basic freediving course will first get you comfortable in the water and demonstrate proper deep breathing techniques. You’ll learn how to clear your snorkel and how to equalize pressure under water. Like scuba diving, you will have both confined and open water levels to complete.
Fortunately, the only prerequisite in freedive training is that you can swim. You don’t have to be an athlete or Olympic level swimmer to plunge into freediving, but you should be in reasonable health.
Qualified Instructor

Obviously, freediving is not something you should attempt to learn on your own. Even after earning your certification, it’s still a good idea to do your first dives as a certified diver in the company of a qualified freediving instructor or a dive buddy, at the very least.
Considering the many dangers of deep submersion (like passing out) without any underwater breathing equipment, you want to be with someone who can guide and assist you if trouble arises.
Levels of Freediving
Here are the different freediving levels or disciplines that you’ll be taught and eventually have to master when you enroll in a freediving course.
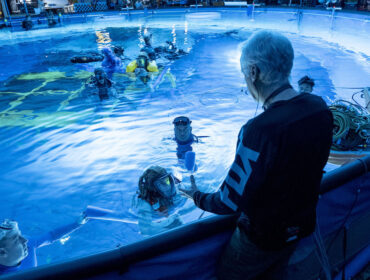
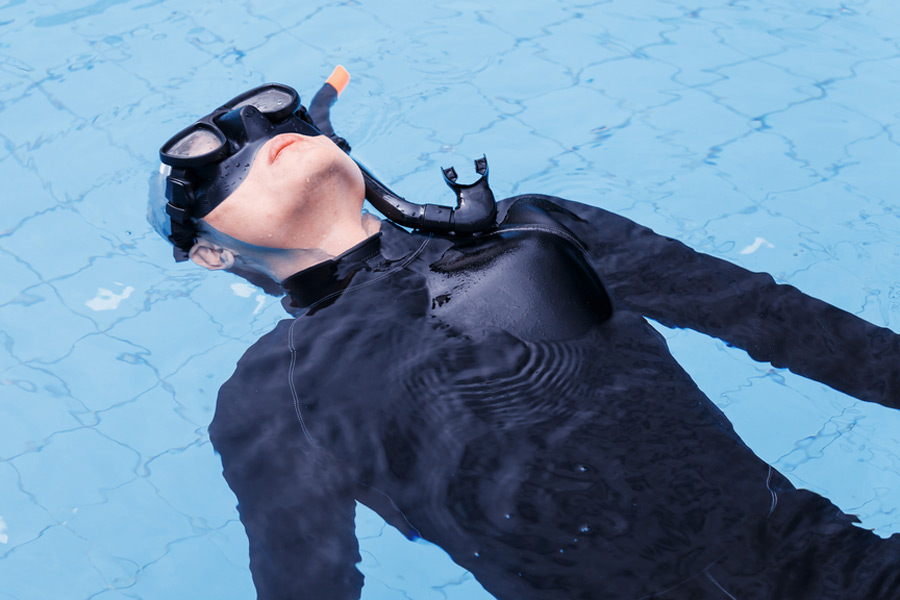
Static Apnea (STA)
Used to measure stamina, Static Apnea is done by floating face down in a pool while holding your breath. It’s also the only form of freediving that measures the duration instead of the distance.
Dynamic Apnea (DYN)/Dynamic No Fins (DNF)
Performed in a pool, this method of freediving has divers swimming underwater in an effort to cover as much distance as possible on a single breath. This is usually done with fins but in DNF, the diver dives without fins.
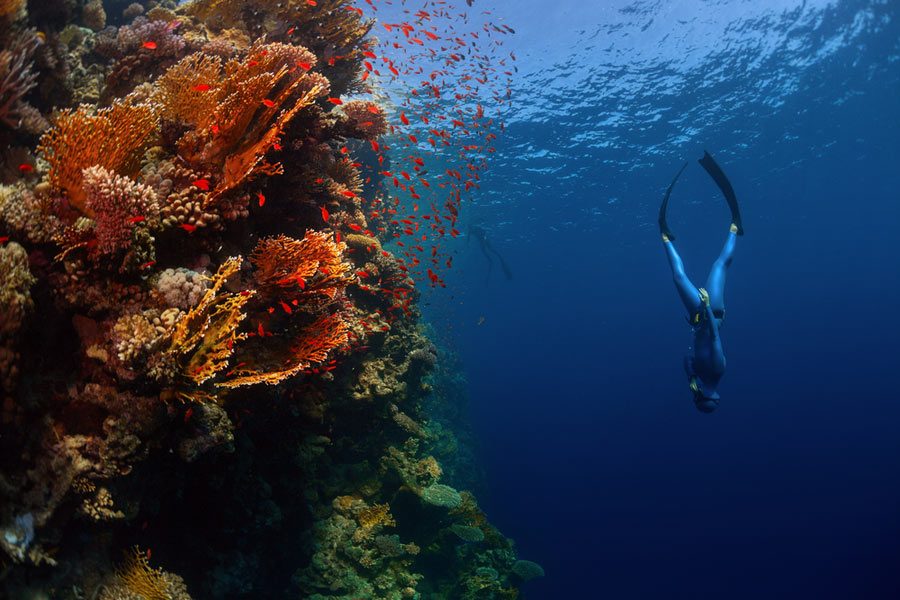
Constant Weight (CWT)
In CWT freediving, the descent is made using only fins and a small amount of weight to pull them down. They are not allowed to use guide ropes or any other object for assistance. Constant Weight Without Fins (CWF) is a variation on this discipline where the diver descends without wearing any fins, using only their own muscle power to propel themselves.
Free Immersion (FIM)
Similar to the CWT method of freediving, Free Immersion adds the element of allowing the diver to use a guide rope to pull themselves down. Without fins, this rope is their only means of propulsion. Divers can descend head first or feet first.
Variable Weight (VWT)
In VWT, the diver descends as quickly as possible by getting pulled down to depth on a sled and then pulls on the rope or uses the arms or legs to ascend back to the surface.
No Limits (NLT)
In NLT, the other extreme freediving pursuit after VWT, divers use heavy weights to pull themselves down, then surface using a lift bag or counter-balance pulley system. Divers can reach tremendous depths using this risky method, which is why it is only for the most experienced and advanced divers.
Freediving is not without its risks. In fact, it is often referred to as second only to base jumping on the danger scale. But with proper instruction and careful adherence to safety, you can focus more on improving your breath-holding skills while freely enjoying your peaceful underwater excursions.
Freediving safety
We highly recommend that new freedivers sign up for a beginner course with an agency or a qualified freediving instructor to learn how to freedive properly. These courses provide important safety procedures that can save your life, and give you the tools needed to rescue someone else if you ever have to.
You will learn safety practices including diving a buddy system. Just like in scuba diving, the number one rule of freediving is to never dive alone! Always dive with a buddy and be confident that your buddy is capable of rescuing you if needed. This means asking them their maximum dive depth, what depth they are comfortable performing safety up to, and how much freediving experience they have. A general rule of thumb is that your buddy should meet you at around one third of your dive depth, on your way back up. If your buddy is not confident with meeting you there, you should make your dive shallower.
You will also learn how to perform recovery breaths during your freediving course. Recovery breaths are performed when you reach the surface after a dive. Basically, they involve “hook breathing” where you repeatedly breathe in fast and hold the breath briefly in between breaths. This allows more oxygen into your bloodstream and can boost blood pressure which will help you not to black out.
You will learn how to freedive safely and responsibly on a freediving beginner course.
How to Breathe for Freediving
When you learn how to freedive, you will discover that it is important not to hyperventilate when freediving. With this in mind, there are relaxing breathing techniques that a freediver can perform right before a dive while they “breathe up” and get ready to dive. The more relaxed a diver can become, the nicer the dive will feel and the longer they will be able to stay under water without needing to breathe.
“2:1 breathing” can be used for relaxation and involves breathing out for double the amount of time that you breathed in for. For example, the diver would breathe in for four seconds and then breathe out for eight seconds. If this ratio feels difficult, they can try reducing the amount of seconds to three in and six out.
Another breathing technique that can be added to the 2:1 breathing pattern for extra relaxation is belly breathing. Most people generally breathe more from the chest, or a mix of chest and the belly. Focusing on breathing the air into the belly can slow the breathing down, which uses less energy. This will increase relaxation, reduce blood pressure, and reduce the heart rate.
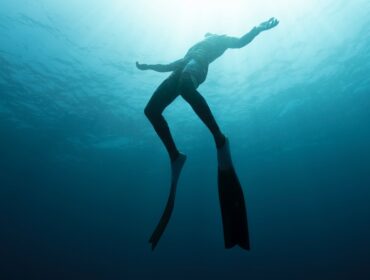
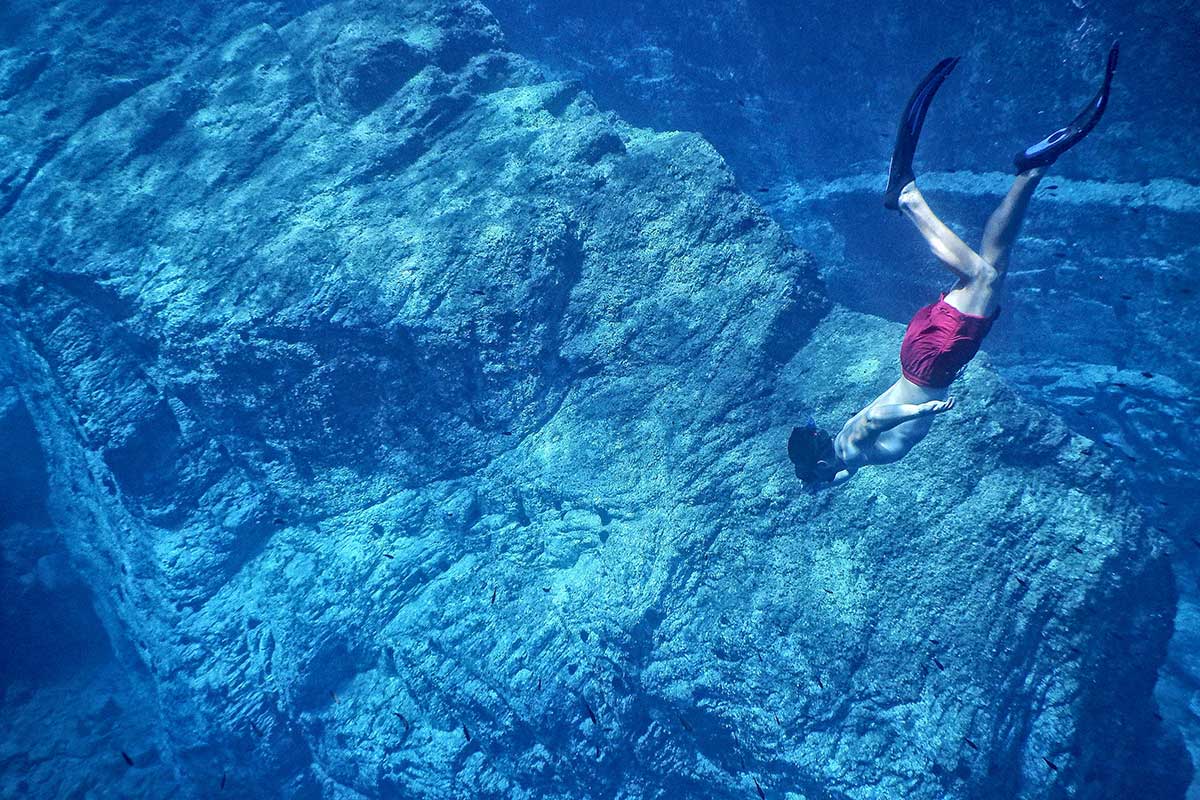
Finning Techniques for Freediving
How should one move their bi-fins to freedive efficiently? Freediving requires a different finning technique to scuba diving and mastering the art of finning can make freediving feel easier and more relaxing.
It is important to keep the legs quite straight when using freediving fins. Try not to bend your knees much to avoid the “bicycle kicking” technique. Another key part of finning for freediving is not to kick too wide. Some freedivers make the mistake of bringing their legs far apart for the kicks. It is actually more efficient and less tiring to perform smaller kicks without much of a gap appearing between the legs.
Most freedivers keep their arms down by their sides when freediving with bi-fins. When you are confident that your finning technique is good, you might choose to bring your arms above your head for a more streamlined approach. Once you have mastered the bi-fins, you can move onto the monofin, which requires you to use a dolphin-style tail to propel your body through the water using a movement from your hips and core.